From Zero to Cloud: AWS Infrastructure Setup in Minutes
Cloud Day Series : Day - 7


Table of contents
- Creating a Virtual Private Cloud (VPC)
- Configuring VPC and Allocating IP Addresses
- Creating Public and Private Subnets
- Enabling Internet Access for Public Subnet
- Creating Route Tables
- Launching EC2 Instance
- Associating Route Tables with Subnets
- Connecting a Backend Server Using NAT Gateway
- Cloud Day Series: part - 1 completed 🤩
- Conclusion
Shalom Everyone 👋, Welcome to Day 7 of our Cloud Day Series. I'm so happy you're here with me! In our previous blog, we designed our cloud architecture or cloud solution for our requirements. Now in this blog post, we will practically implement this in our AWS cloud.
If you're new here, I'm Ashok, a recent graduate with a passion for technology and development. On Hashnode, I pen down my insights on DevOps within the AWS Cloud and discuss nuances of React and React Native development.
Now that you know a bit more about me, let's embark on today's Cloud adventure 🚀...
Creating a Virtual Private Cloud (VPC)
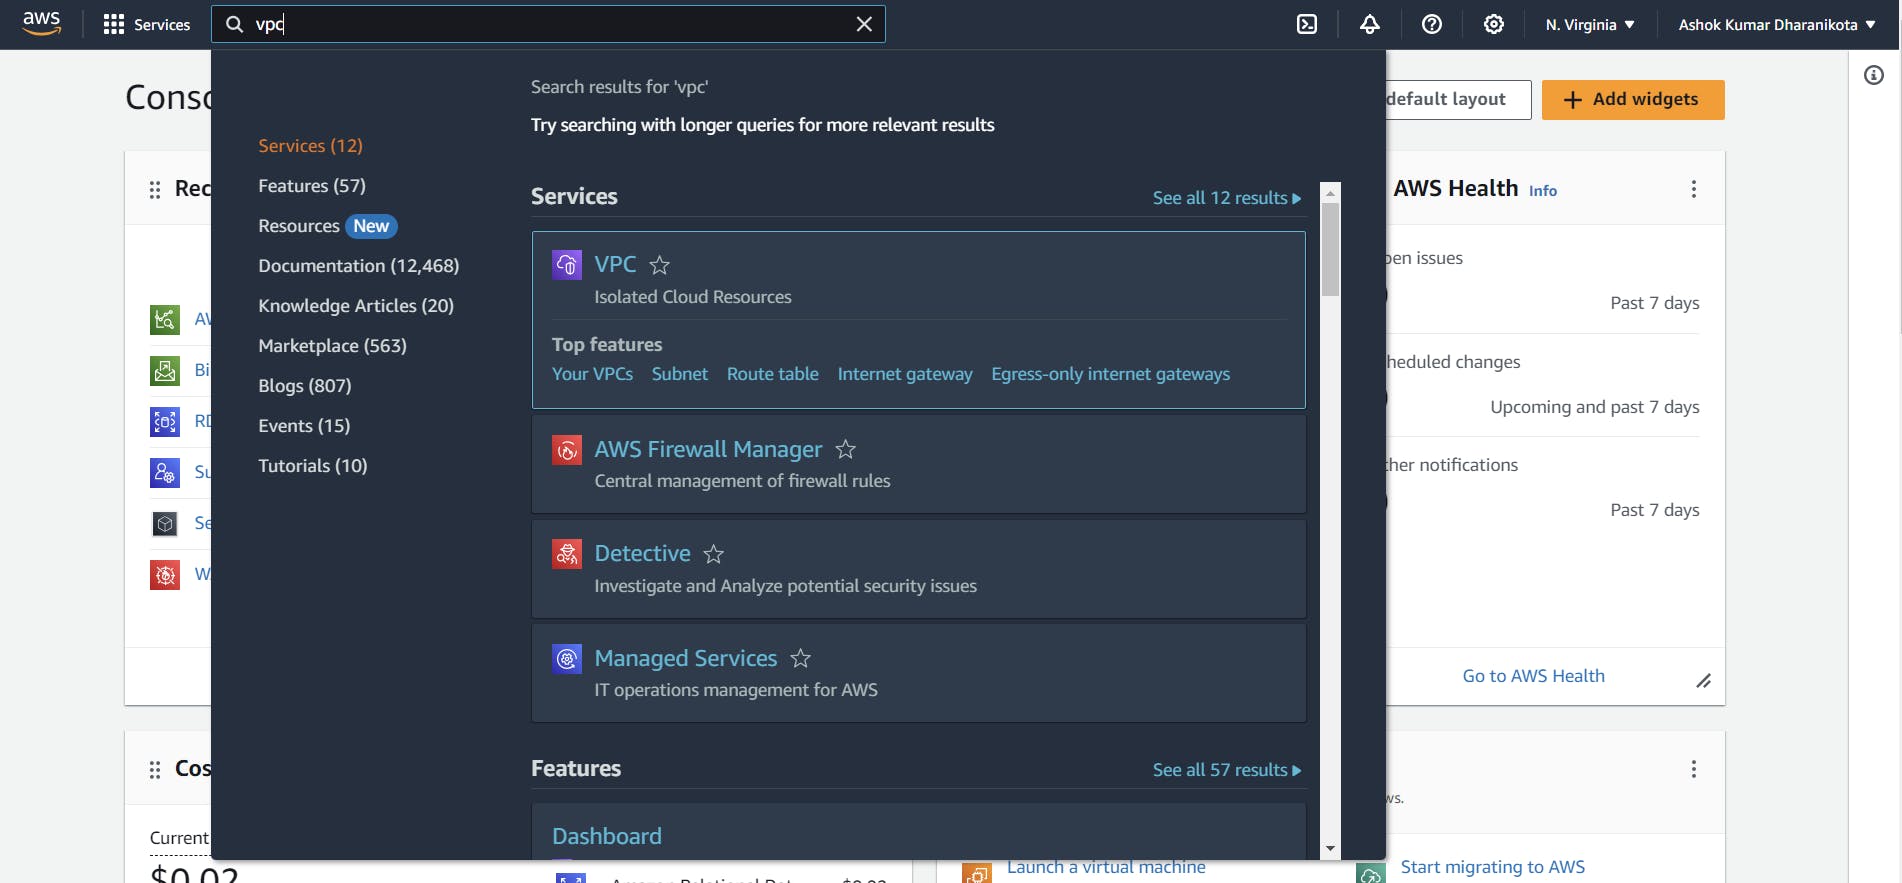
Open your AWS Management Console and select the services. Our primary goal is to implement the private network space in our AWS Cloud, so we will create a Virtual Private Cloud.
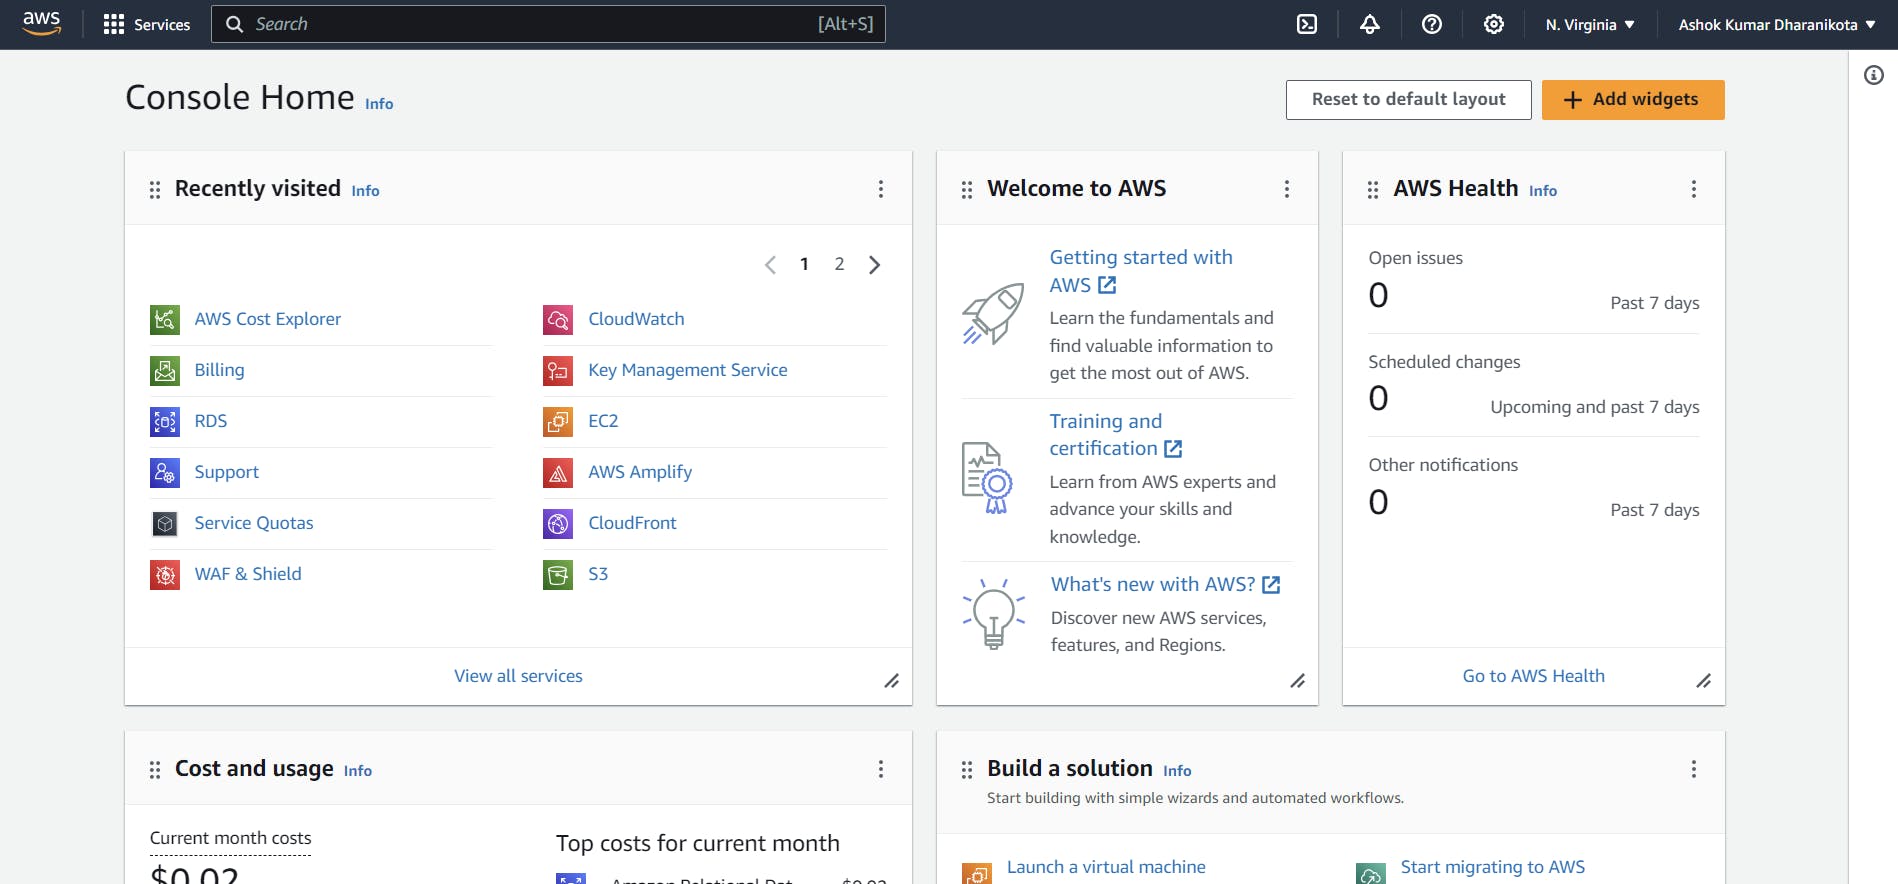
Select the VPC, which is an isolated space to create, run, and use IT resources.
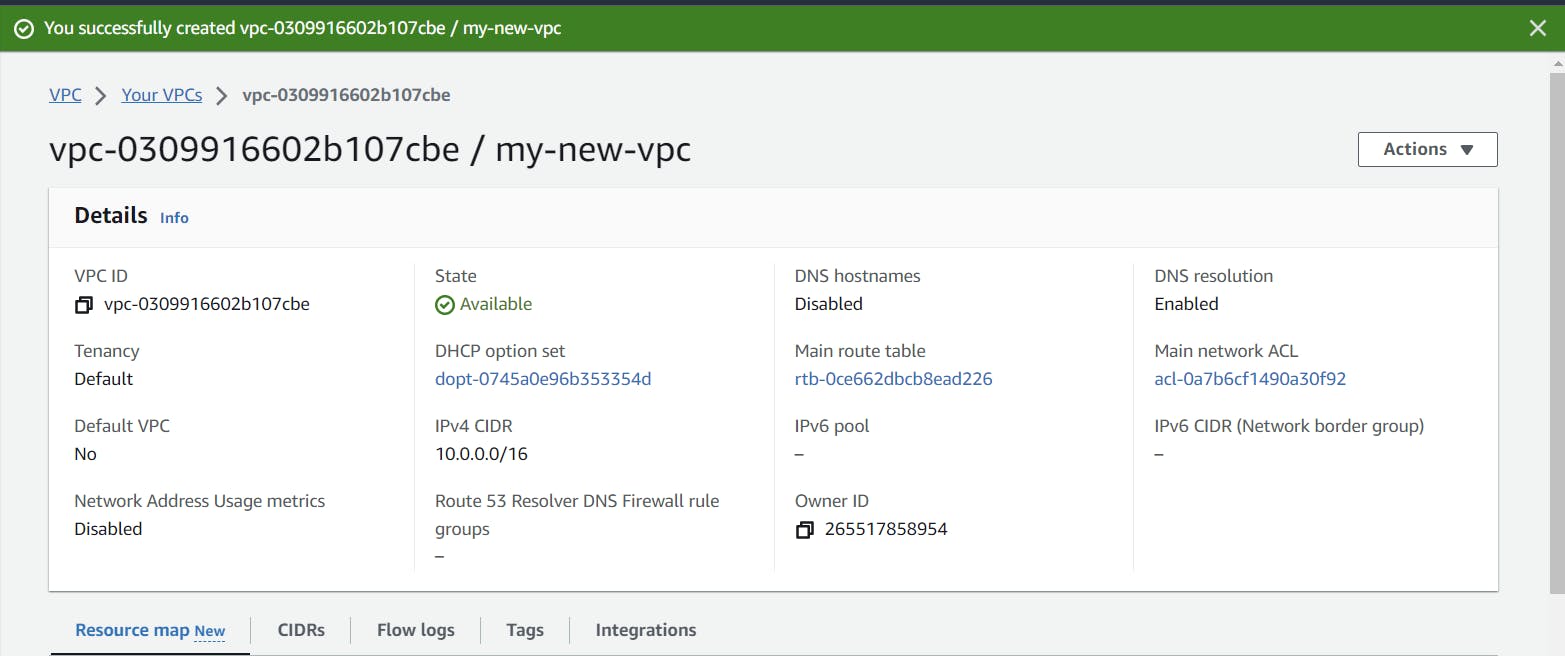
Configuring VPC and Allocating IP Addresses
You will be redirected to the VPC Dashboard; in that, select VPC only. We will go through a step-by-step process to create our network space. Give a name, like I did, "my-new-vpc," and when it comes to the allocation of IP addresses, use the 10.0.0.0/16 notation. This way, I can get 65,536 IPs to use in my private network space. The first and last IPs in this range are reserved, leaving me with 65,534 usable IPs only.
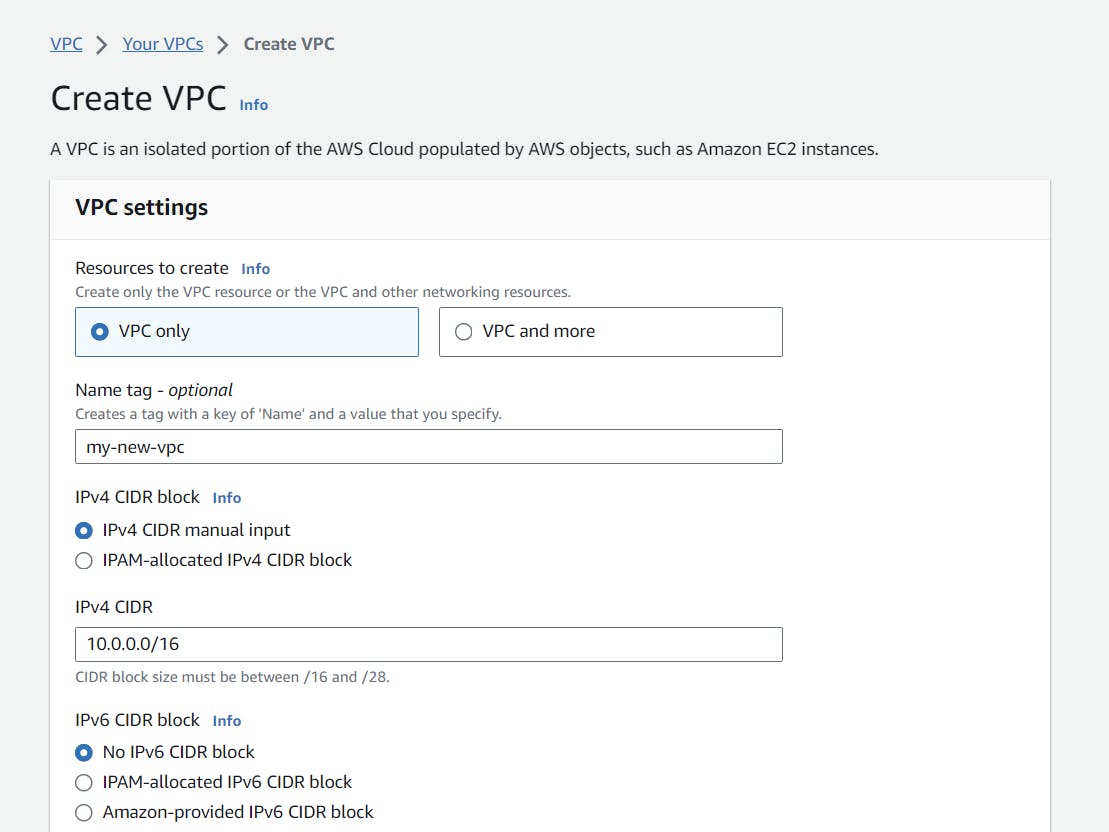
Click on "create VPC" to create your new VPC in AWS Cloud.
Now we don't have any subnets in our VPC. Let's create one public and one private subnet. In the public subnet, users can access our web server through a public IP. But when it comes to our confidential user data, we have to maintain privacy and security in our private subnet so that it is not easily accessible to everyone; only authorized and verified people can access it. While creating a subnet, make sure to select the new VPC you created instead of the default one.
Creating Public and Private Subnets

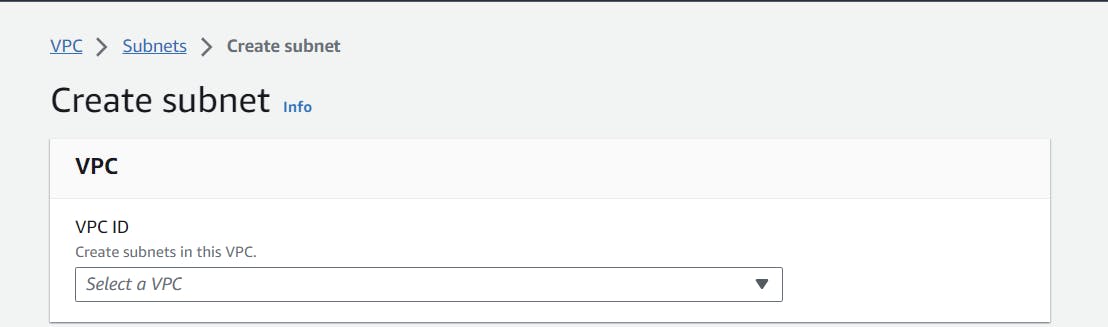
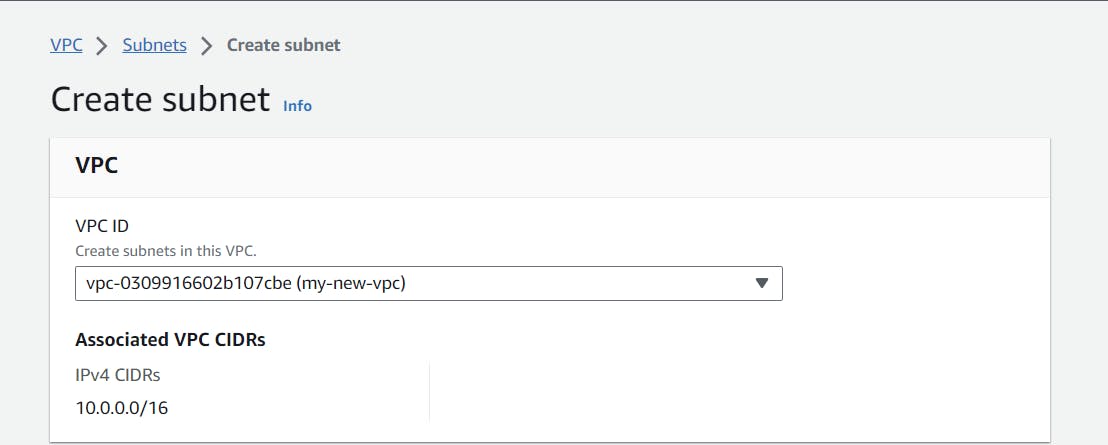
Select our newly created VPC.
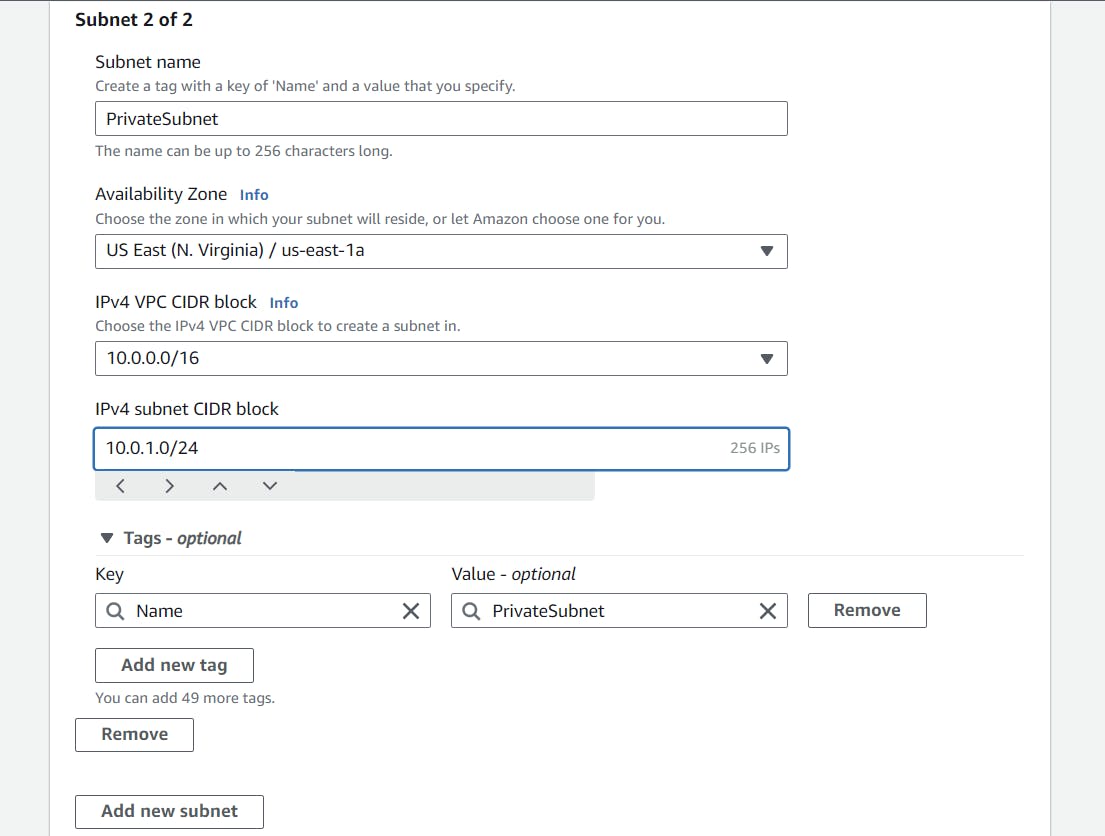
Let's give a proper name to our new subnet and select one availability zone or more if you wish. For this scenario, I am only using one availability zone and allocated 256 IPs to our public subnet by giving the CIDR notation of 10.0.0.0/24.
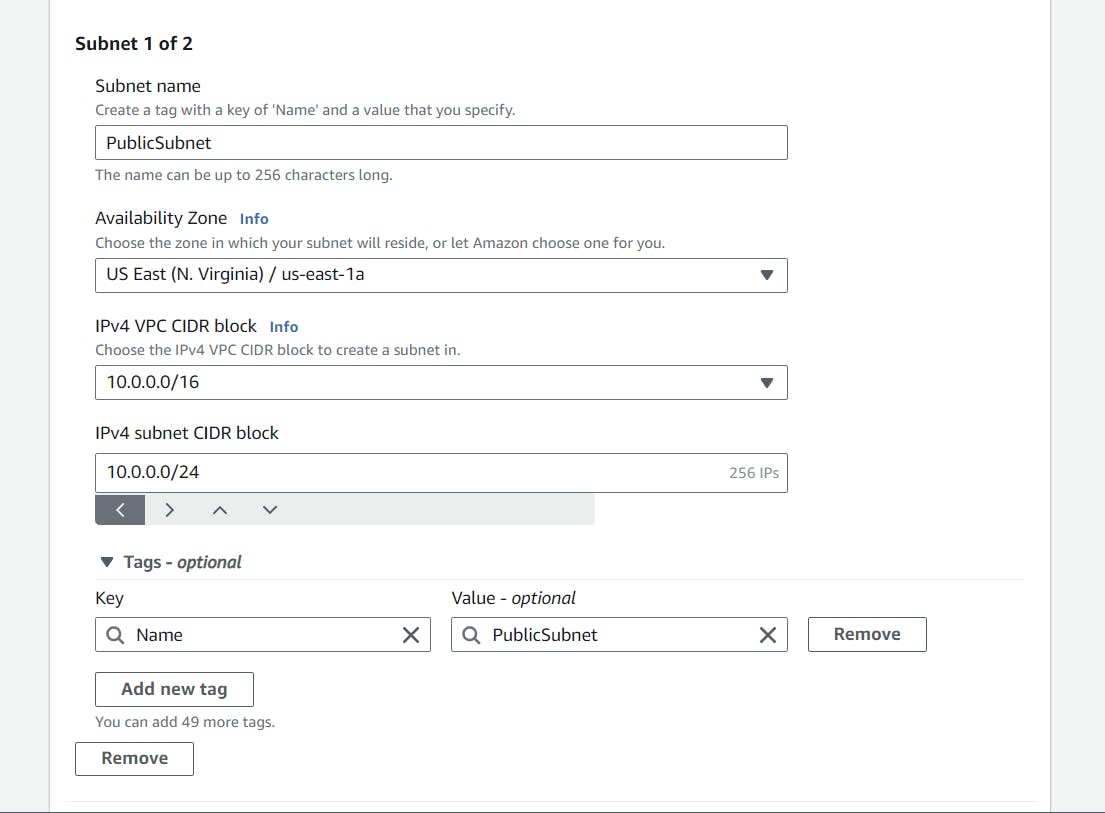
Similarly, follow the same steps for the private subnet too, or if you want more or fewer IPs for your private subnet, you can customize your CIDR Block range.
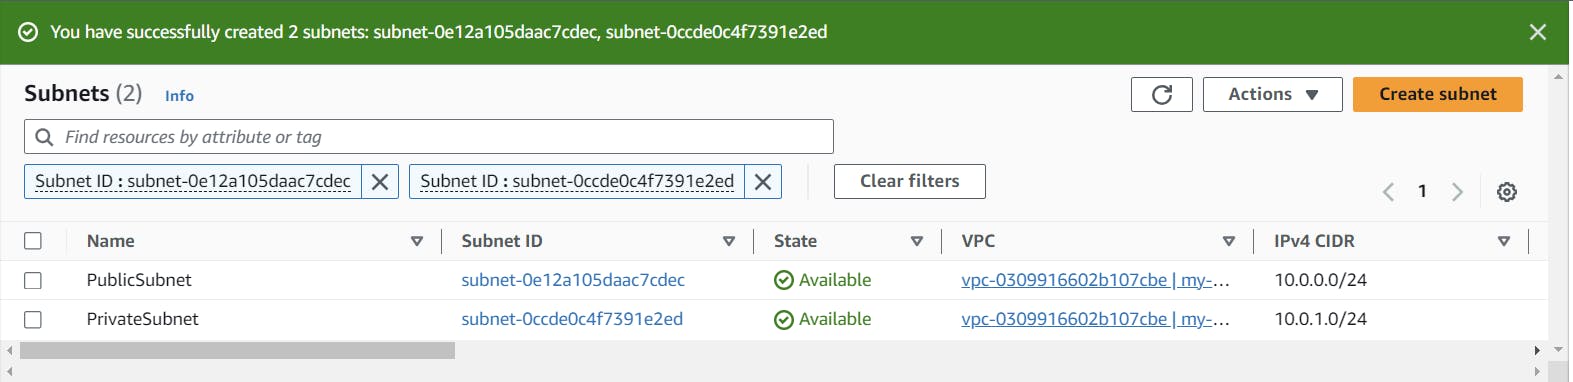
We have successfully created our two subnets in our VPC. And that's not the end it's just the beginning now.
Enabling Internet Access for Public Subnet
Even though we created our VPC and subnets, if we try to run our EC2 instance in the public subnet through AWS Instance Connect, it still won't be able to access the internet.
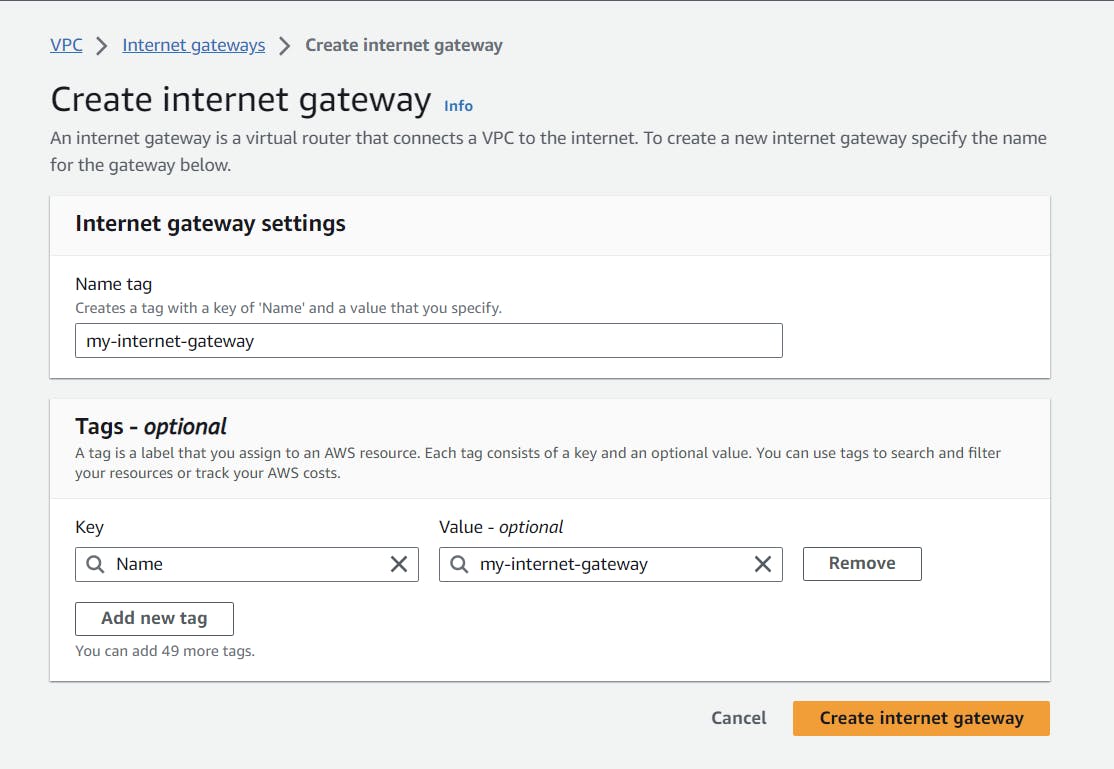
To ensure our web server is accessible through the internet, we have to enable the internet to our VPC. To do that, we have to create one internet gateway and give it a proper name.
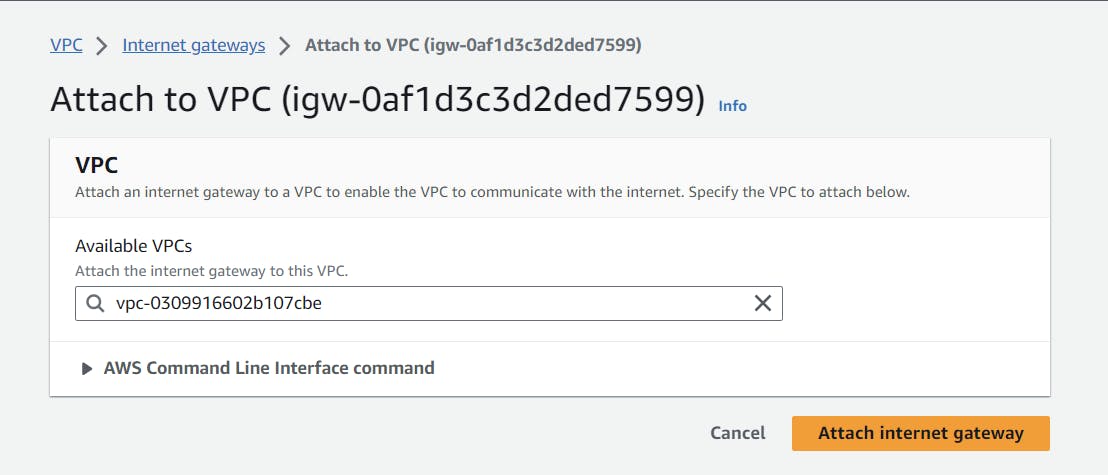
After creating our internet gateway, we have to attach this internet gateway to our VPC, so this will enable our VPC to connect with the internet.
Click on the "attach VPC" option select our newly created VPC and click on "attach internet gateway." That's it.
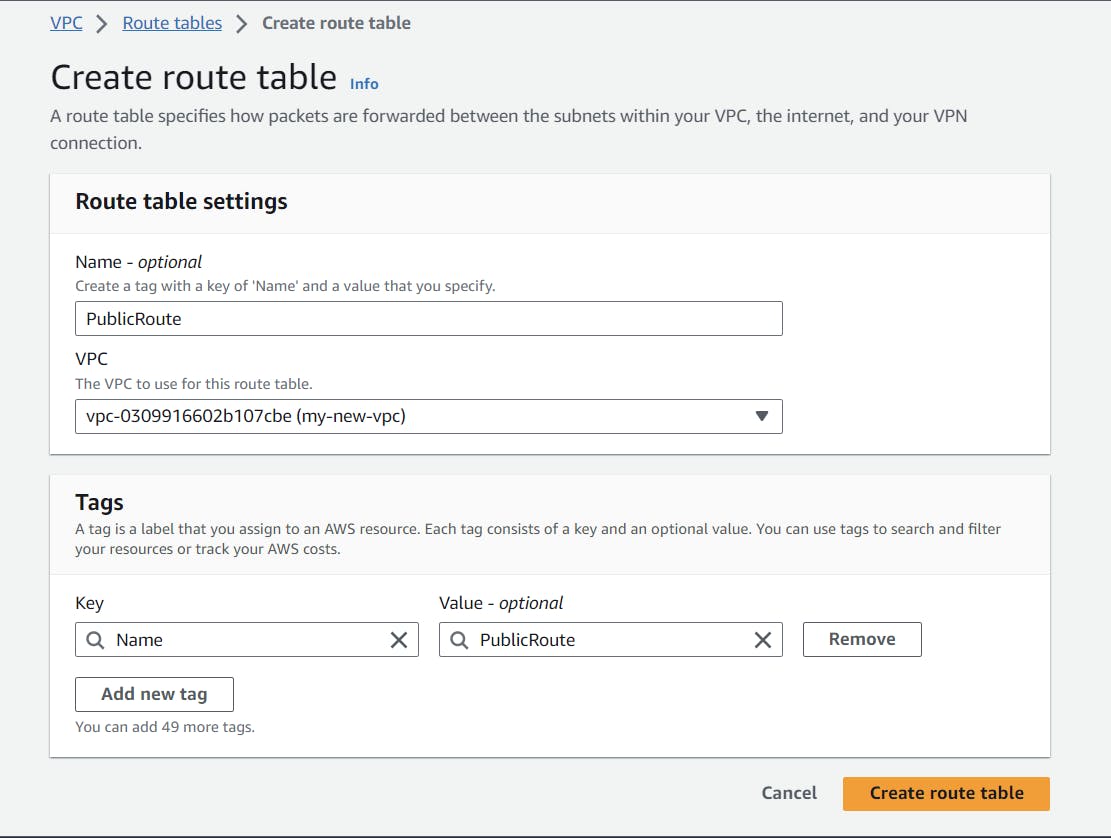
Creating Route Tables
But that's not the end. we still have to create route tables for our subnets to associate. In this, we will mention what traffic needs to be allowed and not allowed for each subnet.
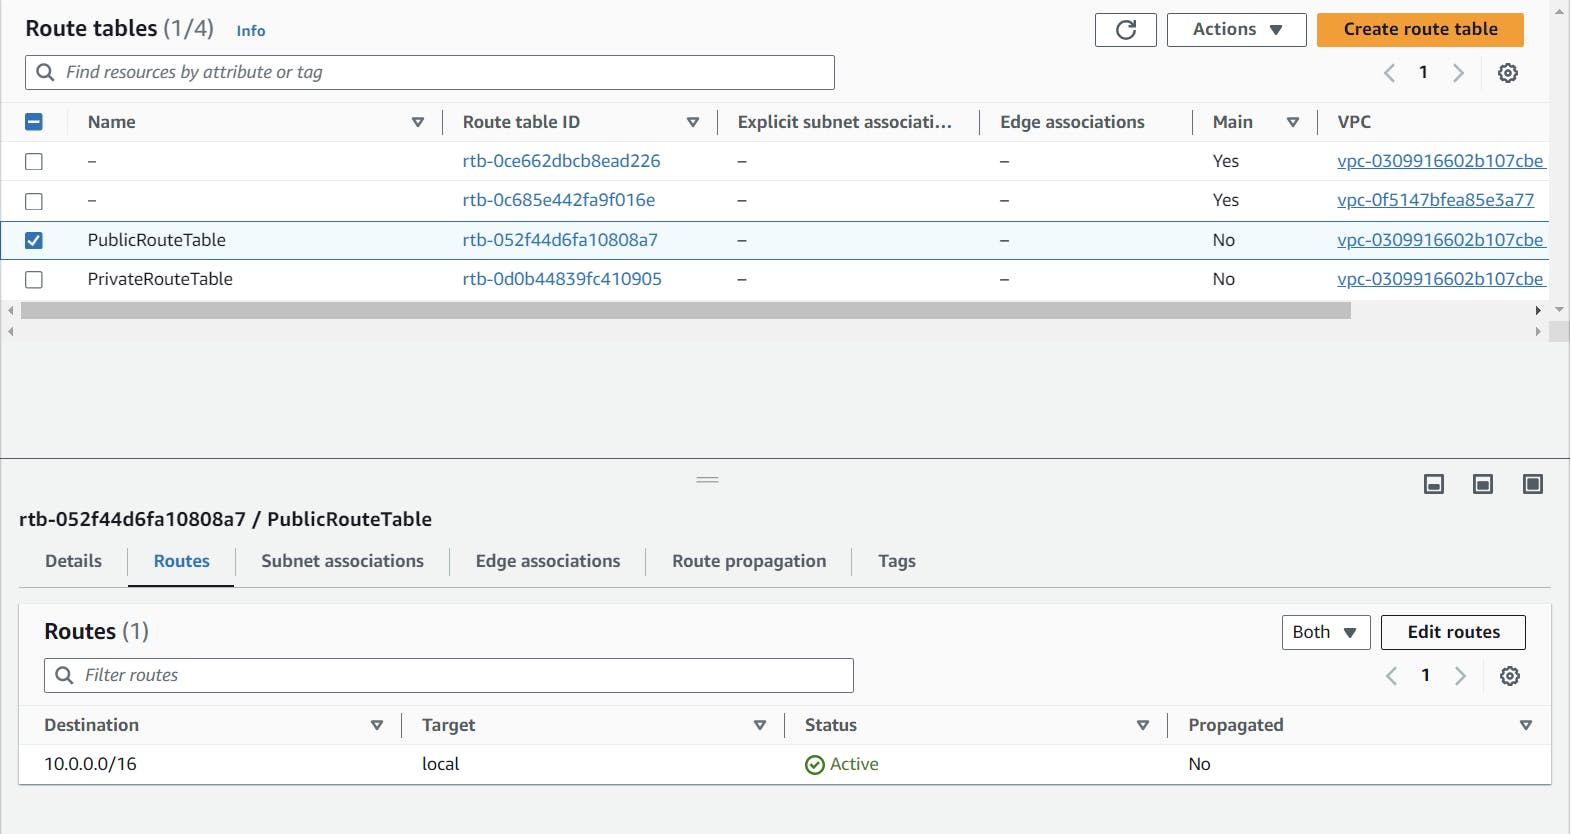
Similarly, follow the same steps to create the private route table.

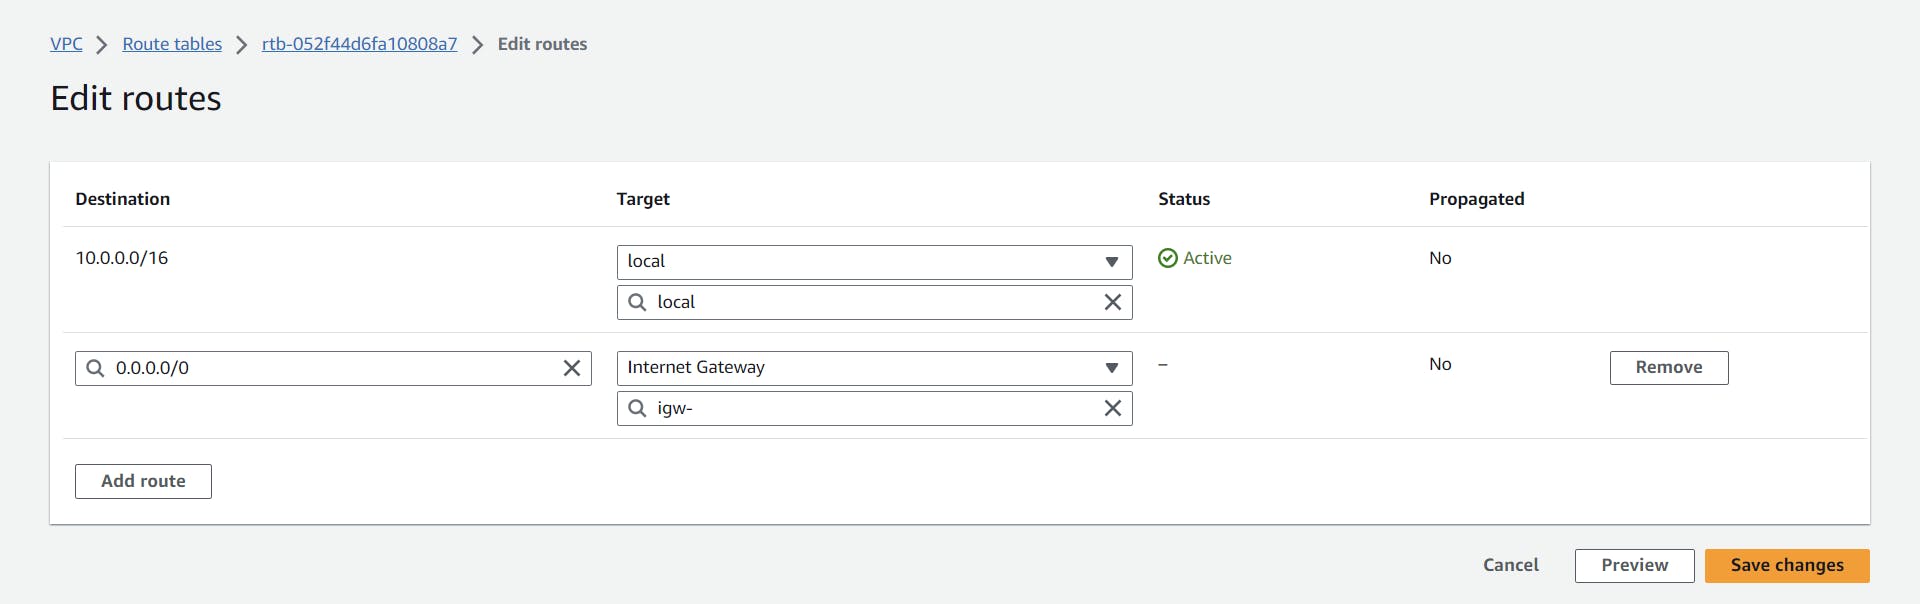
Let's edit the routes for our public subnet to allow all traffic to our public subnet.
After clicking on "edit routes," you will be directed to this page. Select "0.0.0.0/0" and in the target field, select the internet gateway we created before and click on "save changes."
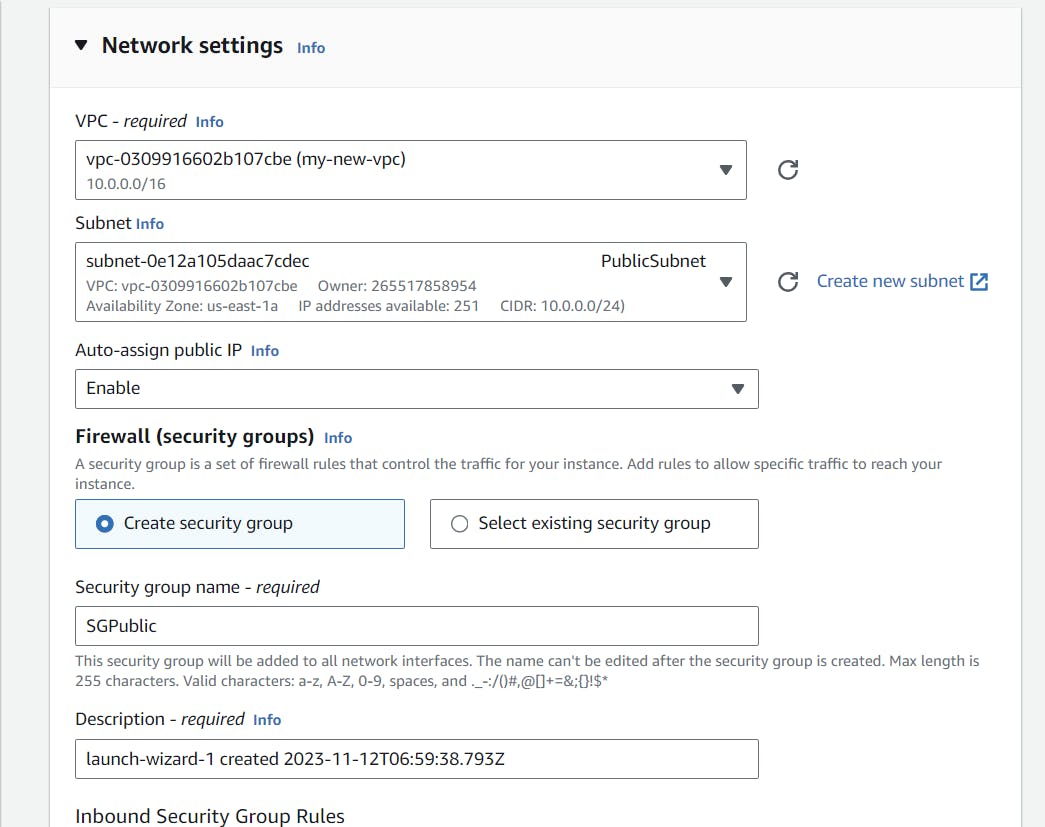
Launching EC2 Instance
Come back to the AWS Management Console, select the EC2 Service, and launch a new EC2 instance. In the networking part, instead of using the default VPC, use the newly created VPC, select the public subnet, and enable auto-assign public IP.
After our EC2 instance comes to a running state, select Instance Connect and then click on Connect.
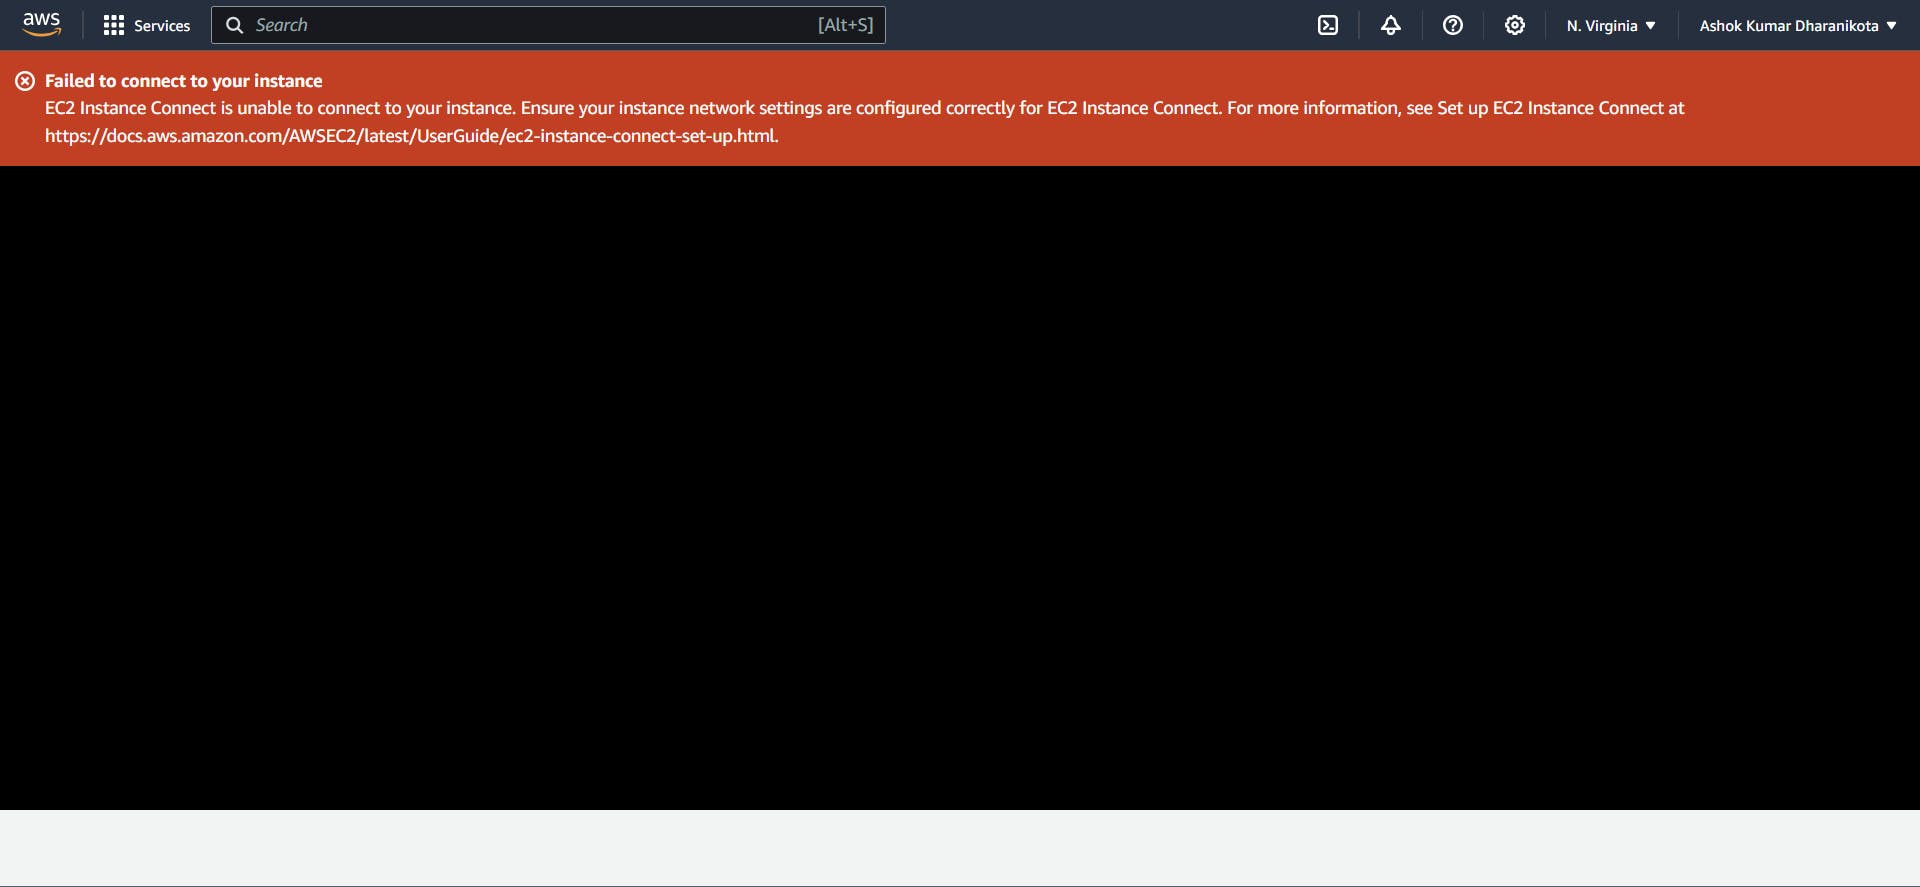
Associating Route Tables with Subnets
"Failed to connect...?" We thought we had done everything perfectly, but there is one thing missing. We didn't connect our route table with their respective subnets.
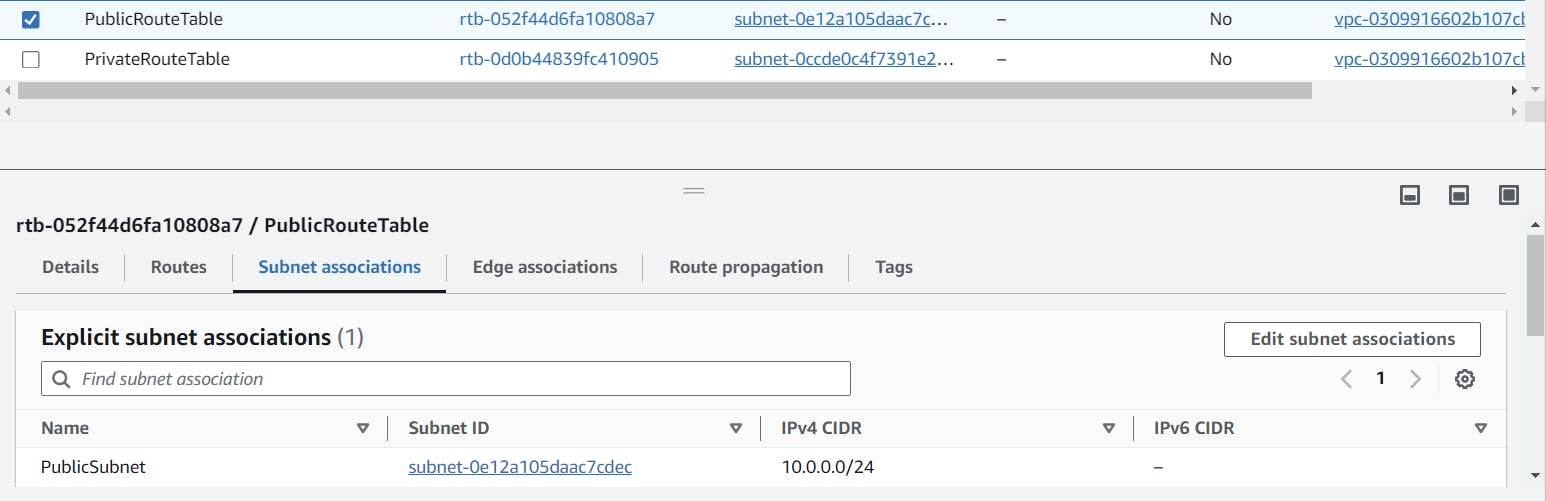
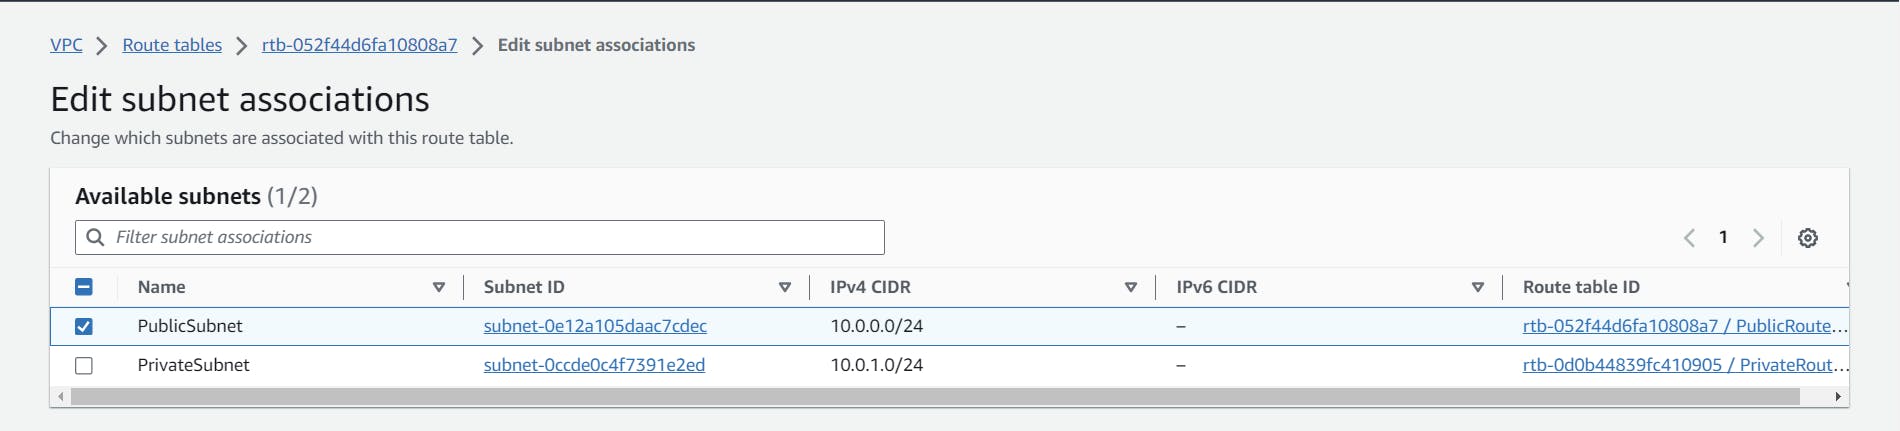
In subnet associations, click on "edit subnet associations," and in that page, associate the respective route table with the subnet. Follow the same procedure for the private subnet too.
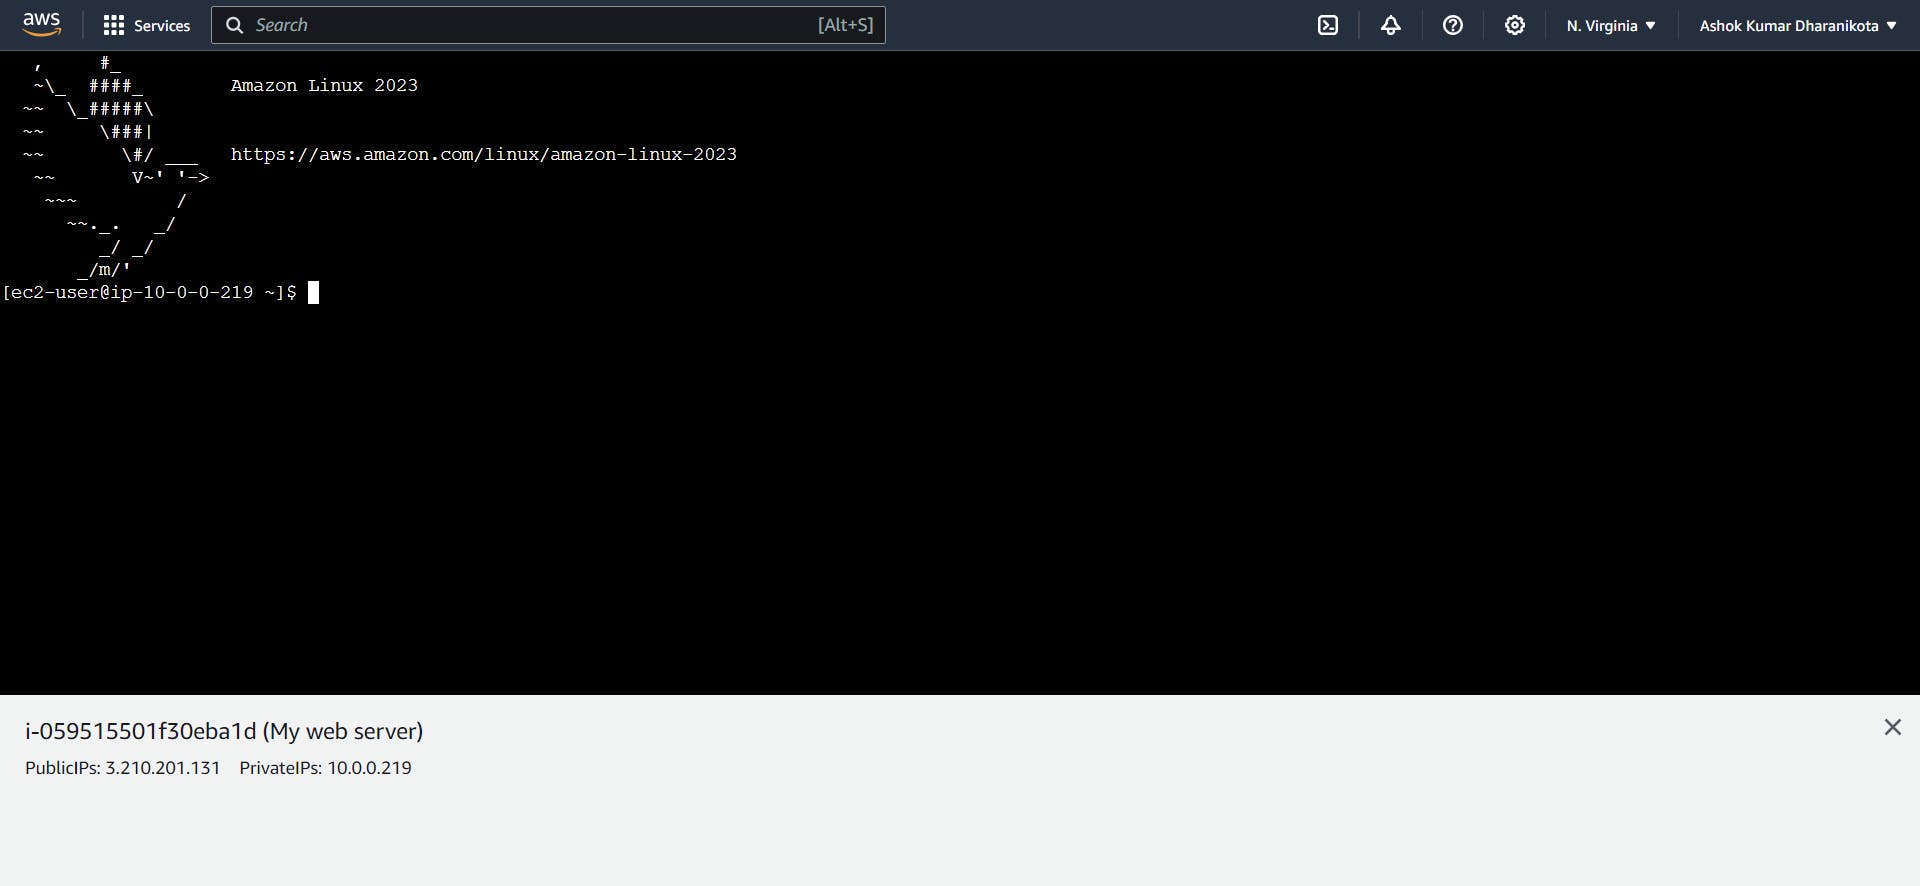
After completing this work, if we try to connect our web server, we will get this response.
Connecting a Backend Server Using NAT Gateway
Coming to the private subnet, we will create a private server in it and not allocate the public IP to it. This will help us protect our backend server from unwanted malicious attacks. But how will our backend server use the internet if it needs it? We didn't allow public access to it, right? If our backend server or database server needs the internet to update up to date always, we need the internet for that. To achieve that, we will use the NAT Gateway. The NAT Gateway allows only one-way requests to it. That means the backend server can only make the request, and it won't accept any requests from outside. That's how we make our backend server connect to the internet.
Cloud Day Series: part - 1 completed 🤩
Conclusion
In this blog tutorial, we learned how to create our cloud infrastructure within a few minutes. Imagine implementing this on-premise. Even though we have a very small task like this, we still need to buy servers and a system, which is initially a big cost. But with AWS Cloud, we have all done this while sitting at home. How cool the technology has evolved. I am very happy to continue this Cloud Day series for 7 days straightly without giving up. Thank you for joining me throughout this journey this is just the beginning of our Cloud journey.
If you found it valuable, please show some love with a ❤️ and share your thoughts 🤗.
See you in our next Cloud Day Series... Farewell for now! 👋
Let's connect on ...